22 Feb Picture This: 3 Ways to Organize Your Photos
Paper, photos and family memories are the most difficult, time consuming categories to organize. These precious items hold important and sentimental information. They represent our life, things we’ve done, places we’ve been, people who have been important to us. Often, reviewing these items takes us down memory lane. It can be fun reminiscing, but your photos and keepsakes won’t organize themselves, especially if you spend the afternoon reliving your prom. With so much emotion tied to this type of clutter, it’s easy to let it sit in boxes in the closet, keep the door closed and walk away. But there’s no need to stress – we have 3 easy solutions to get you on the right path to organization.
Get Rid of the Excess
Similar to other organizing projects, the first step is to gather up all of the items in one area. This means going through every room and space in your house, pulling together all photographs, artwork, letters, and mementos. Don’t worry about organizing them just yet! And resist the urge to take that walk down memory lane. If you have copious amounts, you may want to wrangle your memories into temporary boxes, just to keep them contained. Once you see the volume of photos and keepsakes in one place, you’ll see how much you’ve acquired over time! Seeing it all together may make it easier to part with some items. Now it’s time to get to work. Find an open desk or table to use as your work surface. One box at a time, review the items and decide what is worth holding onto, and what you are willing to part with. Be on the lookout for duplicates, blurry images, or images of people you don’t know. They can probably go.

Sort, Sort, Sort!
Once you’ve discarded any photos you no longer want to keep – don’t forget to give yourself a pat on the back! Any time we have to part ways with such meaningful/sentimental things, it can be a psychically draining experience. Now that you’ve completed the hard part, it’s time to create that seamless system so you can stay organized! The next step is to organize your photos into categories. We recommend organizing them according to the general time in which they were taken. If this method doesn’t make sense for you, you can also organize them based on size, events, or people in the photo. Once you’ve categorized your photos, it’s time to decide how you want to organize them. These are our top three recommendations for organizing your photos:

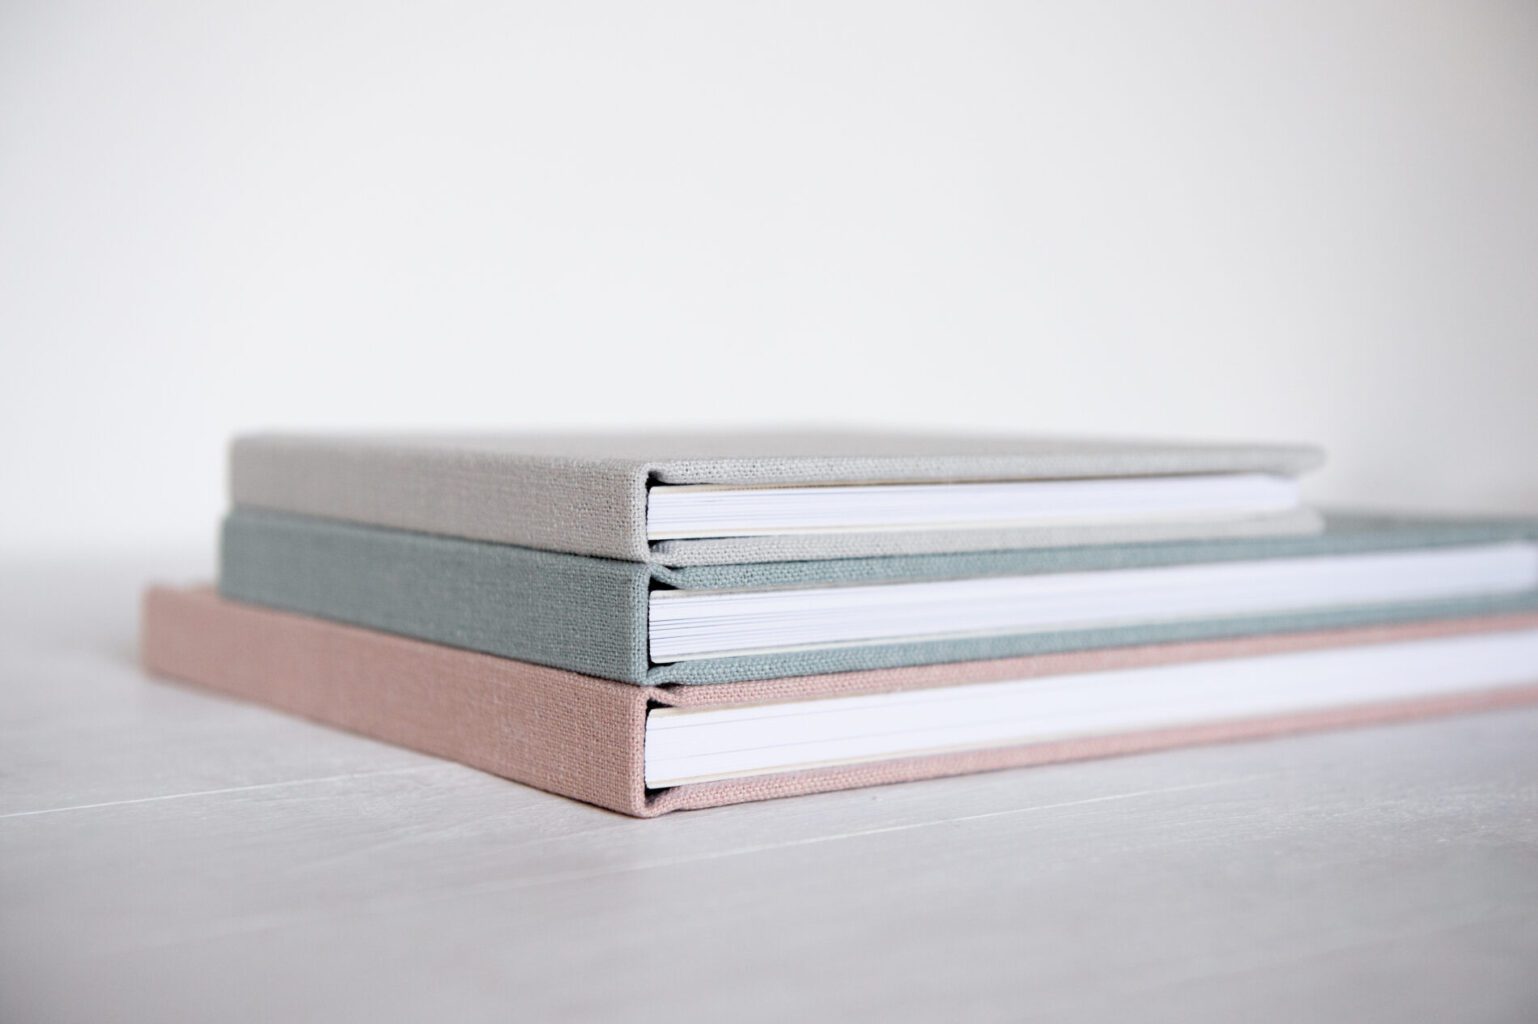
1. DIY Photo Albums
If you have the physical space and want to take the time to organize your photos into albums, this is a great way to functionally organize them. If you know you’ll want to see your photos and mementos frequently, this is the option for you! Storing your photos in albums is one of the best ways to easily take a trip down memory lane. Organize the different albums by year, or into whatever categories you’ve previously decided on. Don’t forget to label the spines of the albums, and voila! You are all set. Simply add new albums as your life progresses. To find a full list of photo albums we love, checkout our Amazon Storefront.

2. Box Them Up
If you are lacking the space, and won’t have the need to access your mementos as frequently, then storing your photos in acid-free archival storage boxes may be the solution for you. You will want to either label these by year, or whatever category you’ve chosen to organize them by. Using airtight bins and boxes will protect your photos from wear and tear. To further prevent any damage, we recommend storing them in a temperature controlled setting! To find a roundup of our favorite bins to store your photos, checkout our Amazon Storefront.

3. Digitize Them!
The final recommendation for storing your mementos is admittedly our favorite! If you’re looking to save space in a huge way, and access your collection from anywhere, you can preserve your memories by scanning the hard copies into digital files. Whether you’re doing it yourself or sending them off to be scanned (Legacy Box is a great resource for this!), make sure they’re organized chronologically, even if this means guessing for some. If there are any photos that you feel especially connected to (whether it be the person, the memory, the place, or the experience), consider framing and displaying them. If they bring you joy, it’ll be a beautiful reminder of that feeling!
Going through all of your photos is a process that involves the heart, so don’t forget to give yourself a pat on the back during this process. No matter what option you choose to organize your photos, the goal is to clear out some clutter and be able to easily revisit those special moments. Trust us, this organizing project is one that’ll be so worth it once you’re done!
Is your photo collection already organized and tidy? For inspiration on how to tidy your batteries, makeup, ties, and coffee station, read the blog Love is in the Details: 4 Organizing Projects to Woo Your Valentine. For tips on how to organize even more spaces, follow us on Facebook, Instagram, TikTok, and Pinterest. Happy organizing!
Sorry, the comment form is closed at this time.