26 Sep How to Pack Your Emergency Preparedness Kit
While this topic isn’t as fun as how to sort your stilettos, it is super important. So don’t ignore this one! (Not that you would ever ignore our blog posts!)
If disaster struck tomorrow, would you be prepared? As much as we don’t like to think about these things, it’s important to be prepared in the event of an emergency.
It seems like every other day there’s a new disaster in the weather segment of the news, but in reality, an emergency doesn’t necessarily have to be weather-related! In fact, our neighbors had a gas leak recently and the entire block had to evacuate for two days. Hey, life happens! We want you to be ready for it when it does.
Have no fear, we’re here to help you get prepared. It’s time to pull the trigger and get that emergency preparedness kit together! Here’s how to do it.[/vc_column_text][/vc_column][/vc_row]
Packing Your Emergency Preparedness Kit in 4 Easy Steps
1. Assess What You Already Have
Do you have anything prepared?
Maybe you’ve started to put the pieces of a kit together with a supply of water, a first aid kit, and some flashlights or something of the like. Congrats! You’re off to a great start. Gather those items in one place and make a list of what you have.
Don’t have anything prepared at all? No worries. Just skip down to step two!
2. Shop for Emergency Prep Supplies
If disaster strikes, you’ll want to have enough supplies stored to survive for at least three days.
Not sure what you should have on hand? Here are the basics you’ll need (and you can grab them from our Amazon shop so you don’t need to go to the store):
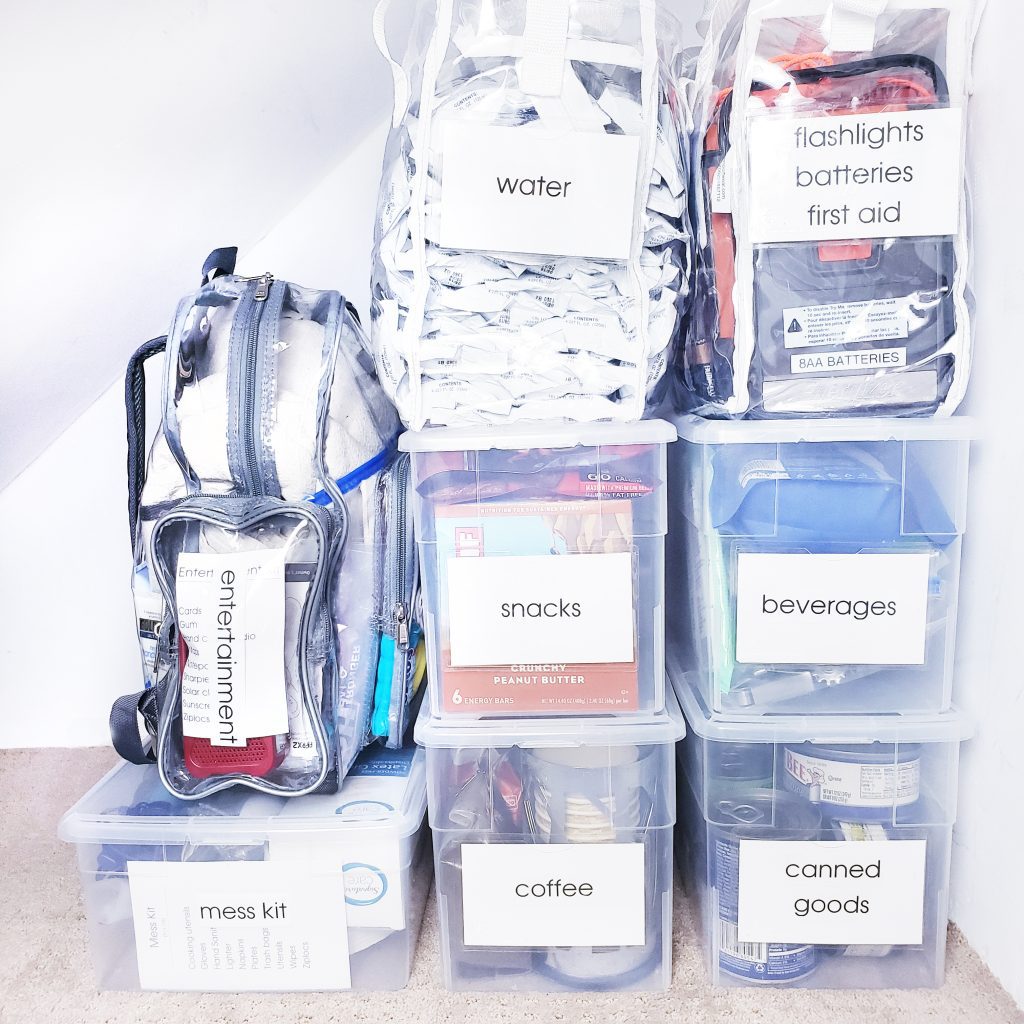
- Water. The general rule of thumb is to pack one gallon of water for each person per day, for at least three days.
- An emergency backpack stocked with supplies.
- A first aid kit.
- Flashlights with batteries.
- A room lantern.
- A three day supply of packaged or canned food for every member of the household. Think canned soup, energy bars, peanut butter, beans and jerky. Don’t fill your kit with Pirate’s Booty or you may be scavenging for food!
- A can opener to open canned food.
- A 30-day supply of prescription medications. Ask your pharmacist or doctor about this one!
- Food and pet supplies for one week. In the event of an emergency, pet food might be harder to come by than human food, so play it safe and pack a little extra for your furry friends!
If you want to be extra prepared, we also recommend adding these items to your emergency preparedness kit:

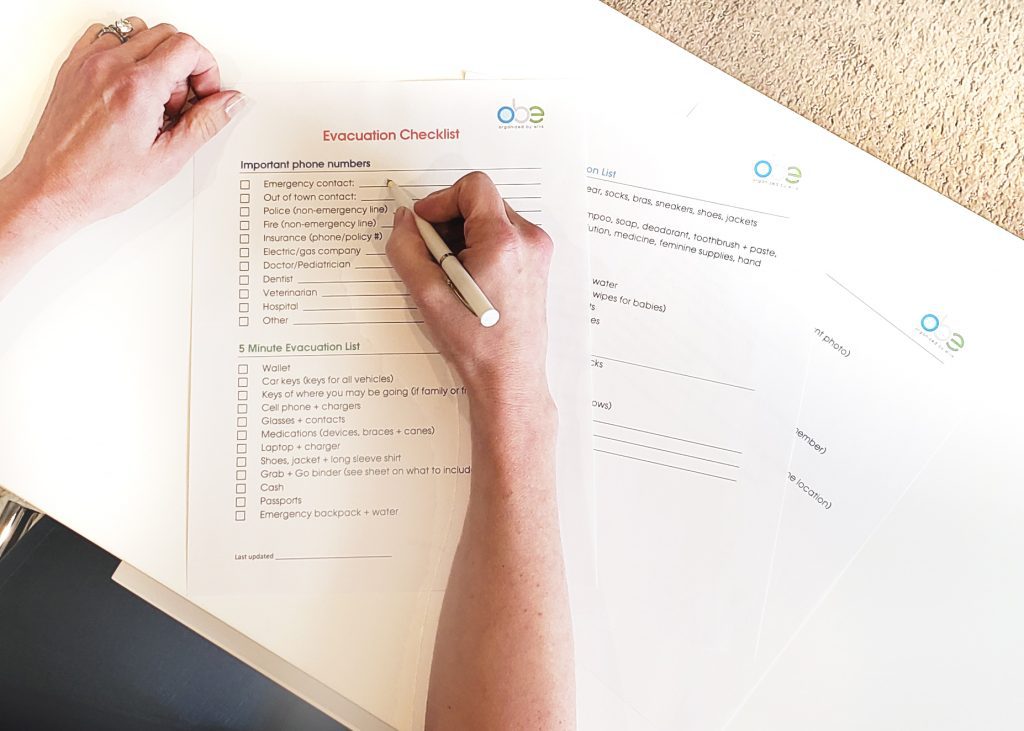
3. Create an Evacuation Checklist
An evacuation checklist is a list of things to do and pack in the event that you need to leave your home quickly. This might actually be the most important item to prepare and keep in your emergency preparedness kit!
Why’s that? Because trust us—there are few things more stressful than evacuating your home at a moment’s notice. You know that scatterbrained feeling you get when you’re late for something and can’t find your keys? Multiply that by 100.
The last thing you want to do is evacuate your house and then remember you left your engagement ring sitting on your dresser. That’s why we have created easily downloadable forms to make this process super simple for you. You can complete your list in one afternoon!

4. Pack Up Your Supplies
Once you have all your supplies and your evacuation checklist sorted, place all of them in air-tight plastic bags. Put everything in one or two duffle bags or plastic bins so you can easily carry your kit if needed.
And that’s it! Once you’ve finished preparing your emergency preparedness kit, you can rest assured that you’ll be ready if disaster strikes. Now you can kick back and relax with one less thing to worry about.


Sorry, the comment form is closed at this time.